
Vacuum-Seal Those Baits
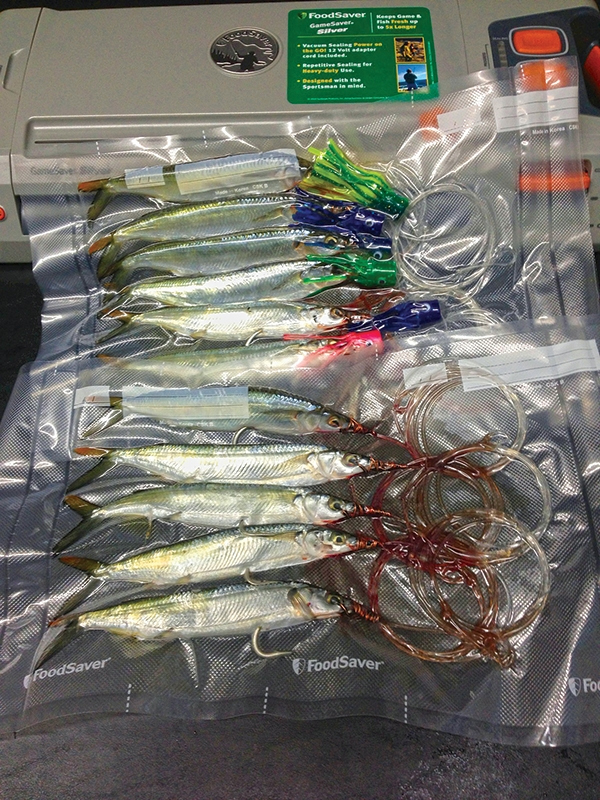
Ready to go: Baits rigged and packed well ahead of time make trip prep a snap.
Photo by George Poveromo
Vacuum-Seal Those Baits
1. The heavier the brine, the tougher and stiffer the baits become. A pure seawater slush is ideal. Baits should be durable yet flexible enough to swim enticingly, not look like a pencil dragged through the water.
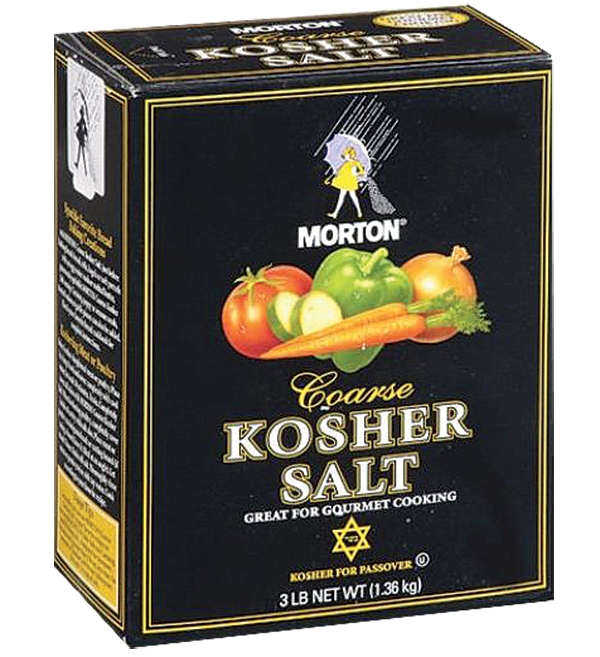
2. When layering trolling baits in a cooler, sprinkle coarse salt over them sparingly. You want just enough salt to offset the fresh water from the melting ice.
3. With poor-quality baits (those with soft stomachs), liberally dust with salt, especially their bellies, to draws out moisture and toughen them. These baits will likely have stiff action, but they'll last a bit longer.
4. Add a dusting of baking soda over the baits to help preserve scent and color.
5. Before deploying the baits, soak them in a bucket of seawater to thoroughly defrost them.
6. Cover the hook points on rigged baits with cardboard or foam packing peanuts before sealing to prevent piercing the vacuum bag.
While docked behind World Wide Sportsman in the Florida Keys a couple of years back, my boat drew some curious glances. We blitzed the blackfin tuna off the 409 Hump earlier that day and proceeded to clean those we kept. However, it wasn't the blackfins per se that commanded the attention, but rather my vacuum-sealing the steaks in my cockpit.
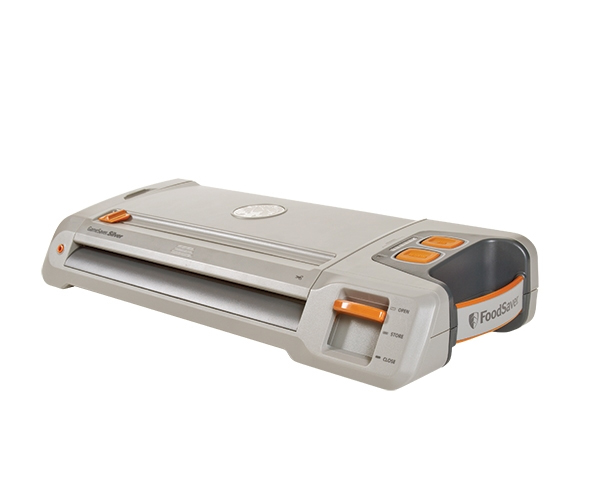
We headed to the Keys specifically for blackfins, and aware that preserving their freshness and quality hinged on how they were prepped for the freezer, I brought along a FoodSaver GameSaver Silver G500 Vacuum Sealer (foodsaver.com). And thanks to its 12-volt DC cord, I was able to plug it into my boat and get to packing while my buddies cleaned the fish at the dock.
Vacuum sealers are tremendous assets for preserving fish destined for the freezer, but offshore anglers, myself included, benefit hugely by using them to preserve rigged trolling baits as well.
Get the Air Out
Successfully freezing trolling baits '’’ such as ballyhoo, mullet and mackerel '’’ requires eliminating two 'quality-reducing culprits: air and internal moisture. Vacuum sealers completely remove air from a bag, and seal it as tight as a drum, which eliminates freezer burn and bait degradation. Removing internal moisture from bait requires brining, an additional step before freezing. Brining bait toughens it up and prevents it from 'washing out.' Once brined baits are layered in a cooler, lightly sprinkle them with coarse (kosher) salt to further draw out excess moisture. In addition, dust lightly with baking soda to preserve their color and scent, and to thwart bacteria.
But what about unrigged baits that come already processed and vacuum-sealed? At least twice a season, I'll 'restock my bait freezer with various-size ballyhoo, mullet, Spanish mackerel and squid. The evening before a day of trolling, I simply thaw and rig two-dozen ballyhoo on premade terminal rigs. For extended offshore trips (and TV shoots) in the Bahamas and Florida Keys, it's not an easy task from a time standpoint.
The time it takes to prep my tackle and boat, deal with last-minute details, and rig several-dozen baits to cover dolphin, tuna, and marlin becomes daunting. Here's where a vacuum sealer saves the day. On a free weekend, even if it's three or four months prior to a big trip, I thaw and rig the baits I plan to take.
I'll sort a number of rigged baits into a heavy-duty, vacuum-sealer bag, activate the pump to draw out air (while pressing gently on the baits and bag to expedite the process), and then heat-seal it. That vacuum-sealed package of rigged trolling baits goes into my bait freezer. So when a big trip comes up, I simply take out the types and quantities of baits we'll need, and thaw and arrange them in the cooler. This saves hours of bait-rigging time the day before a trip, and best of all, those baits will be remarkably fresh.
The Great Thaw
When readying vacuum-sealed -frozen baits for fishing, place them in a sink or bucket full of water. Let them thaw naturally '’’ don't rush it. In a separate bucket, create a brine solution by mixing water with coarse salt and ice. Once defrosted, remove them from their sealed pack, thoroughly rinse each rigged bait in the brine, and then layer them belly up on an aluminum bait tray in an iced cooler. Once the tray is lined with baits, dust them lightly with salt and baking soda, and cover with a thin layer of ice prior to stacking on another bait tray, and repeating the process. As the ice melts, it mixes with the salt and maintains the baits' freshness. Before deploying, defrost them with a short soak in a bucket of fresh seawater.
Fresh bait makes as big a difference to game fish as a fresh fish fillet or steak would make to you.
If you find spare time during the final throes of winter, and are already looking forward to a couple of big offshore trips where you'll rely on trolling natural baits, it's time to get off the couch and get to work so you'll be ahead of the game: Rig, vacuum-seal and freeze as many baits as you can in advance. You'll have the time to do it right without the pressure of last-minute preparation. Come fishing time, you'll be glad you did.
Vacuum-Seal Those Baits
Cool Investment: A quality vacuum bagger adds efficiency to bait prep, and provides a measure of quality in steaks and fillets destined for the table.
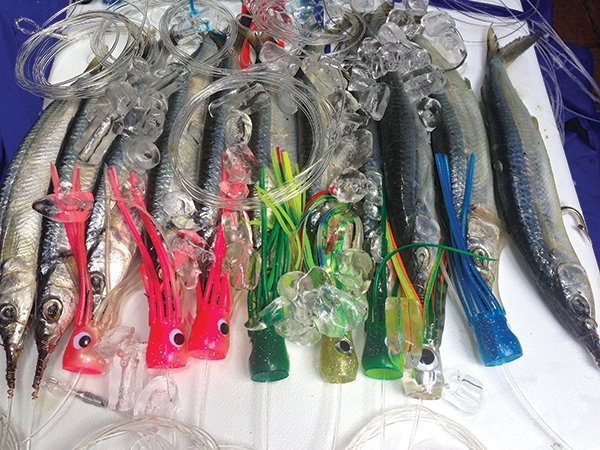
Vacuum-Seal Those Baits
On the Job: A variety of ready-rigged baits means you'll spend more time fishing